Wedding Guest Book
I had this idea for the place setting cards to become part of the Wedding Guest Book.
Each grey card base was rolled through the cuttlebug using the Couture Creations Intrinsic
folder and scored to make an "A" card.
I then came across the cutting plate for the hearts, so 80 hearts later we had floor full of
tiny confetti from the tiny holes in the hearts edge pattern.
Each Guest's name was written on the front. I was going to print the names
but annoyingly the yellow card wouldn't go through the printer.

I had difficulty finding an album with enough pages to cater for the 80 guests
so I covered 2 small photo albums with the chevron yellow fabric,
organza and a bling heart and added a front page verse.

Wedding guest book verse.

I bought an artist sketch pad and designed 10 pages, each with its
dictionary meaning for words associated with love and marriage.
I ran each page through the printer 8 times and added the yellow pockets
(also rolled through the Cuttlebug), for the finished cards to go into once
the guests had written their messages to the Bride and Groom

The outcome was a beautiful keepsake for the bride and groom
to be enjoyed for years to come.

All things scraps can become
Great Things
Easter time is here....
Here are my easter egg tokens for all my work mates.
For $20 AU I was able to make 40 + small easter gifts

Have a wonderful holiday this Easter

This Christmas was especially hard for me
so I decided to get back to basics
I pulled out the sewing machine, papers
and any scraps I could find
I Got Craftin.....
Here are some of the creations I came up with:
Phone Bags
I had 4 teenage girls to buy pressies for
I found this great pattern for a slide top
Phone Shoulder Bag

Fabric
Beads
Cord
Thread
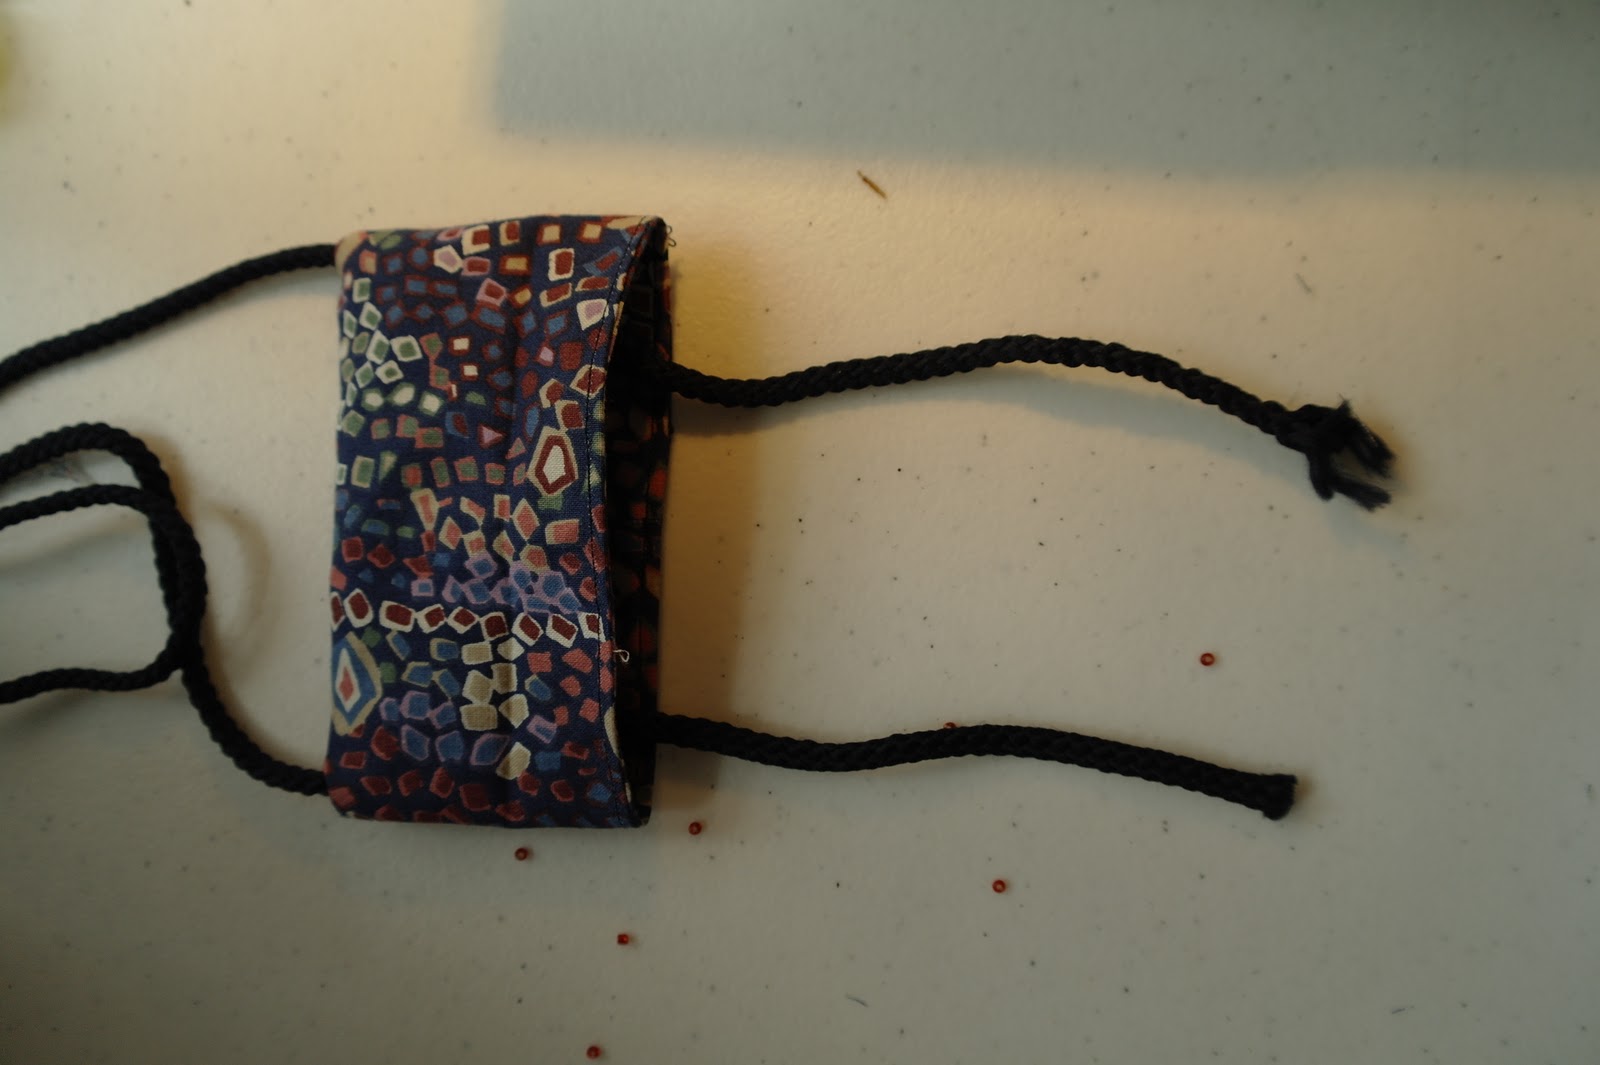

The top of the bag slides along the cord
2 of the finished designs

Fabric Bracelets

I used strips of the fabrics and added Embellishments
to each one

With a slip knot at one end, thread the strip through the loop
and make another slip knot that then slides along the strip
to tighten or lossen the bracelet
The finished Bracelets

Have fun playing with making different ones of these funky bracelets

No comments:
Post a Comment